GitHub Actions CI/CD : Build, Test and Deploy
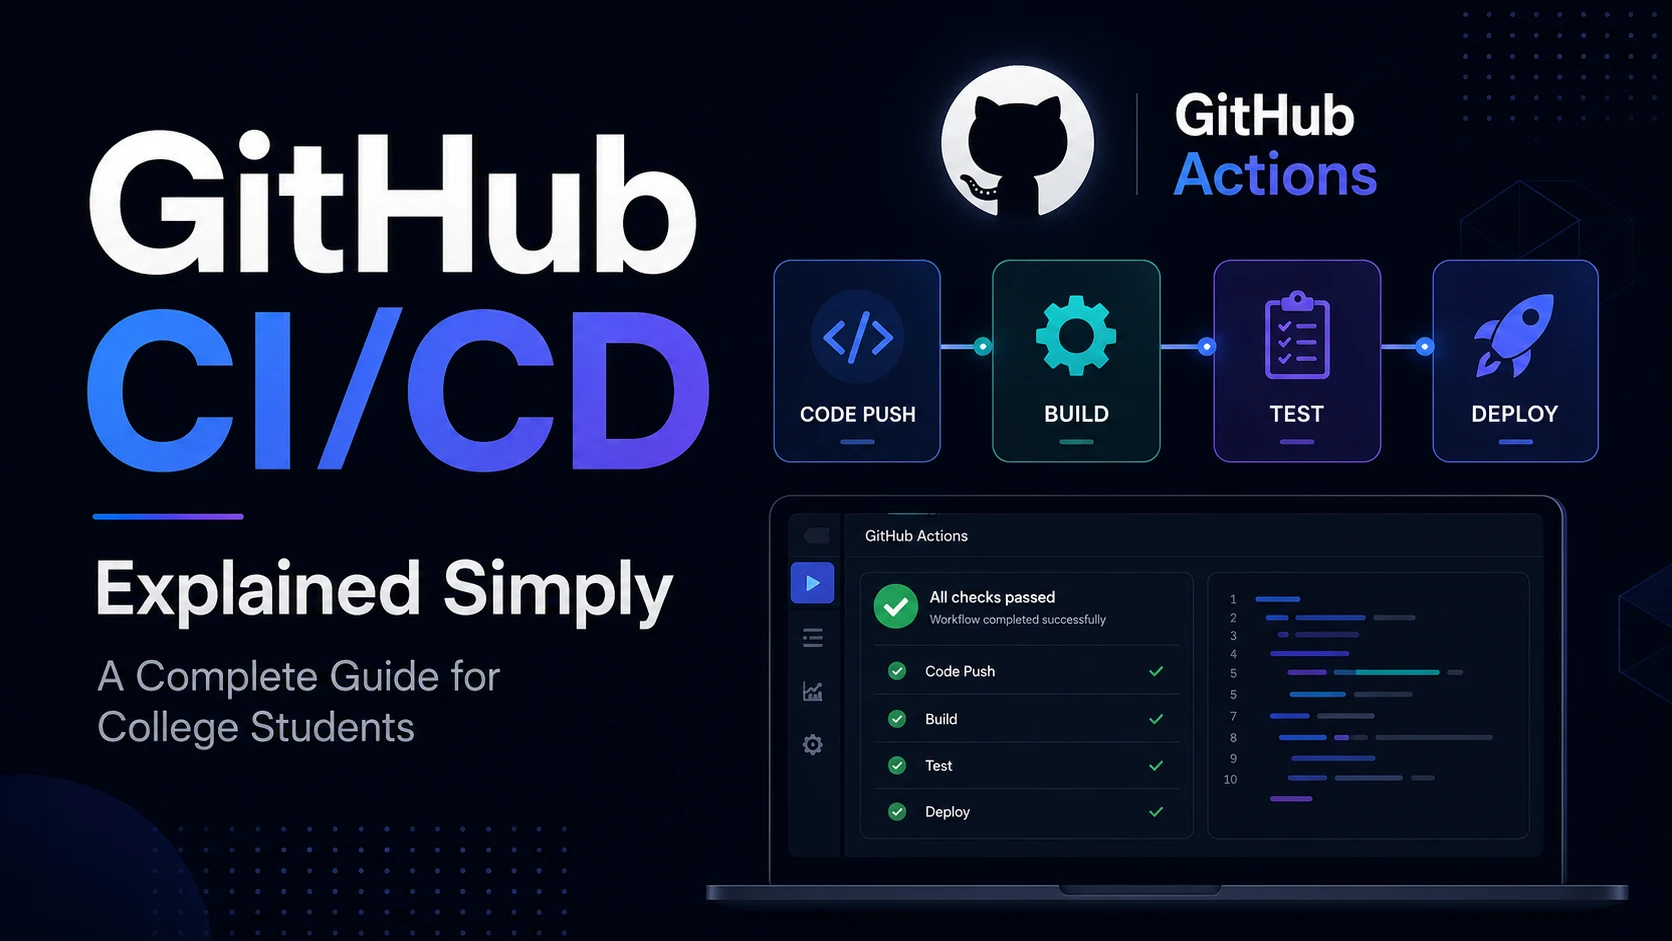
This beginner-friendly guide explains how CI/CD and GitHub Actions help developers automatically build, test, and deploy code. It covers key concepts such as workflows, triggers, jobs, steps, runners, and actions, along with ready-to-use examples for Python and Node.js projects. The blog also highlights common mistakes, practical team workflows, and how CI/CD improves code quality, collaboration, and deployment confidence.
Contents
GitHub CI/CD Explained : A Beginner-Friendly Guide
Have you ever pushed code and silently hoped it would not break the entire project?
That nervous feeling is exactly why CI/CD exists.
When you first hear terms like CI/CD, pipeline, runner, or workflow, they may sound like concepts meant only for DevOps engineers or large tech companies.
They are not.
Even a small college project can benefit from CI/CD. In this guide, we will understand what CI/CD means, how GitHub Actions works, and how you can create your first automated workflow without getting lost in technical jargon.
Let Us Start with a Story
Imagine that four students are working on the same college project.
- Shiv is building the login page.
- Komal is working on the dashboard.
- You are creating the profile page.
- Harsh is developing the backend API.
Everyone works separately on their own laptop. Each feature seems to work perfectly on its own.
The night before the final submission, the team combines all the code.
And suddenly, the application crashes.
The login page cannot communicate with the API. The dashboard expects data in a different format. One package works on Sara's machine but is missing from everyone else's setup.
The real problem is not that the team wrote bad code. The problem is that the code was integrated and tested too late.
This is the problem that Continuous Integration tries to solve.
Instead of waiting until the final day, the project is automatically built and tested every time someone pushes a change. If something breaks, the team finds out immediately—while the change is still small and easy to fix.
What Is CI/CD?
CI/CD is a way of automating the steps that happen between writing code and releasing it to users.
At a basic level, a CI/CD pipeline looks like this:
textWrite Code → Push Code → Build → Test → DeployThink of it as a safety checkpoint for your project.
Whenever a developer pushes new code, the system can automatically:
- Download the latest version of the project.
- Install the required dependencies.
- Check whether the project builds successfully.
- Run automated tests.
- Report whether the change passed or failed.
- Optionally deploy the application.
The goal is simple: catch problems early and reduce repetitive manual work.
CI, Delivery, and Deployment
The term CI/CD is commonly used as one phrase, but it includes a few different ideas.
Continuous Integration
Continuous Integration, or CI, means developers regularly merge their changes into a shared repository.
Every change is automatically validated through steps such as:
- Installing dependencies
- Checking code formatting
- Running linting
- Building the application
- Running unit or integration tests
CI answers one important question:
Does the project still work after this change?
Continuous Delivery
Continuous Delivery means the application is always kept in a deployable state.
The build and testing process is automated, but a human may still approve the final production deployment.
For example:
textPush Code → Build → Test → Wait for Approval → DeployThis approach is common when a team wants automation but still needs control over when a release goes live.
Continuous Deployment
Continuous Deployment goes one step further.
When all required checks pass, the application is automatically deployed to production without waiting for manual approval.
textPush Code → Build → Test → Automatically DeployThis approach can be powerful, but it requires reliable tests and a well-designed release process.
CI vs Continuous Delivery vs Continuous Deployment
| Concept | What It Does | Is Final Approval Required? |
|---|---|---|
| Continuous Integration | Automatically builds and tests code changes | Not applicable |
| Continuous Delivery | Keeps the application ready for release | Usually yes |
| Continuous Deployment | Automatically releases every approved change | No |
For a college project, starting with Continuous Integration is usually enough. You can add automated deployment later.
What Is GitHub Actions?
GitHub Actions is GitHub's built-in automation platform.
It allows you to create workflows that run when something happens inside your repository. For example, a workflow can run when:
- Code is pushed to a branch
- A pull request is created
- A pull request is updated
- A release is published
- A specific time is reached
- Someone starts the workflow manually
A workflow is written in a YAML file and stored inside this directory:
text.github/workflows/You can think of the workflow file as a set of instructions for GitHub:
“Whenever this event happens, create a fresh machine and perform these tasks in this order.”
You do not need to understand every line of YAML on your first day. Start with a small workflow, run it, break it, fix it, and gradually improve it.
Important GitHub Actions Concepts
Before writing a workflow, let us understand the main building blocks.
1. Workflow
A workflow is the complete automated process.
It is stored as a .yml or .yaml file inside .github/workflows/.
A repository can have multiple workflows, such as:
text.github/workflows/
├── test.yml
├── deploy.yml
└── security-check.yml
2. Event or Trigger
An event decides when the workflow should start.
Common triggers include:
yamlon: pushyamlon: pull_requestyamlon:
push:
branches: [main]The last example runs only when code is pushed to the main branch.
3. Job
A job is a group of related steps.
For example, one job may run tests while another job builds the application.
yamljobs:
  test:
    # Testing steps

  build:
    # Build steps
Jobs can run independently or wait for another job to finish.
4. Step
A step is one individual task inside a job.
Examples include:
- Checking out the repository
- Installing Node.js or Python
- Installing dependencies
- Running tests
- Building the project
5. Runner
A runner is the machine on which the workflow runs.
GitHub-hosted runners can use operating systems such as:
yamlruns-on: ubuntu-latestyamlruns-on: windows-latestyamlruns-on: macos-latestFor most web and backend projects, Ubuntu is a common starting point.
6. Action
An action is a reusable task created by GitHub or the community.
For example:
yamluses: actions/checkout@v4This action downloads your repository code onto the runner so the next steps can use it.
Build Your First Workflow
Let us create a simple CI workflow for a Python project.
Step 1: Create the Workflow Directory
Inside your project, create this structure:
text.github/
└── workflows/
    └── ci.yml
The filename can be different, but it must end with .yml or .yaml.
Step 2: Add the Workflow
Create .github/workflows/ci.yml and add the following code:
yamlname: Python CI

on:
  push:
    branches: [main]
  pull_request:
    branches: [main]

jobs:
  test:
    runs-on: ubuntu-latest

    steps:
      - name: Check out repository
        uses: actions/checkout@v4

      - name: Set up Python
        uses: actions/setup-python@v5
        with:
          python-version: "3.11"

      - name: Install dependencies
        run: pip install -r requirements.txt

      - name: Run tests
        run: python -m pytest
Step 3: Commit and Push the File
bashgit add .github/workflows/ci.yml
git commit -m "Add Python CI workflow"
git push origin main
Now open your repository on GitHub and go to the Actions tab.
You should see the workflow running.
A green check means the workflow passed. A red cross means at least one step failed—and GitHub will show you the logs needed to investigate the problem.
What Happens After You Push Code?
Here is the complete flow in simple terms:
The runner is temporary. GitHub creates it for the workflow, runs the required steps, and removes it after the job finishes.
That fresh environment is valuable because it answers another useful question:
Does the project work outside the developer's own laptop?
Common Beginner Mistakes
1. Saving the Workflow in the Wrong Folder
GitHub only detects workflow files placed inside:
text.github/workflows/This will not work:
textsrc/ci.ymlThis will work:
text.github/workflows/ci.yml2. Incorrect YAML Indentation
YAML uses indentation to understand structure. Use spaces, not tabs.
yaml# Incorrect
jobs:
test:
runs-on: ubuntu-latestyaml# Correct
jobs:
test:
runs-on: ubuntu-latestWhen a workflow does not start, indentation is one of the first things worth checking.
3. Hardcoding Passwords or API Keys
Never write sensitive values directly inside the workflow file.
yaml# Do not do this
- run: deploy --token=my-secret-production-token
Store the value in GitHub Secrets and use it like this:
yaml- run: deploy --token=${{ secrets.DEPLOY_TOKEN }}You can add a repository secret from:
textRepository → Settings → Secrets and variables → Actions4. Using npm install When the Lockfile Should Be Respected
For Node.js CI workflows, npm ci is generally a better choice when your project includes a package-lock.json file.
yaml- run: npm ciIt installs dependencies using the exact versions recorded in the lockfile, which makes CI runs more predictable.
5. Ignoring Failed Workflows
A failed workflow is not just a red icon. It is feedback.
Open the failed run, identify the failed step, and read its logs. Most beginner issues are caused by:
- A missing dependency
- An incorrect command
- A missing environment variable
- A wrong file path
- A test that passes locally but fails in a fresh environment
6. Trying to Automate Everything on Day One
Your first pipeline does not need deployment, caching, security scanning, Slack notifications, and multiple environments.
Start with one goal:
Build the project and run the tests on every pull request.
Once that works reliably, add more steps.
Ready-to-Use Student Project Templates
Choose the template that matches your project. Do not combine both unless your repository actually contains both technologies.
Python Project
yamlname: Python Project CI

on:
  push:
  pull_request:

jobs:
  test:
    runs-on: ubuntu-latest

    steps:
      - name: Check out repository
        uses: actions/checkout@v4

      - name: Set up Python
        uses: actions/setup-python@v5
        with:
          python-version: "3.11"

      - name: Install dependencies
        run: pip install -r requirements.txt

      - name: Run tests
        run: python -m pytest
Node.js Project
yamlname: Node.js Project CI

on:
  push:
  pull_request:

jobs:
  test-and-build:
    runs-on: ubuntu-latest

    steps:
      - name: Check out repository
        uses: actions/checkout@v4

      - name: Set up Node.js
        uses: actions/setup-node@v4
        with:
          node-version: "20"
          cache: npm

      - name: Install dependencies
        run: npm ci

      - name: Run tests
        run: npm test

      - name: Build project
        run: npm run build
Make sure the commands in your workflow match the scripts available in your project.
For example, if your package.json does not contain a test script, npm test will fail. CI does not create missing commands—it only runs the instructions you provide.
Useful GitHub Actions
You will see some actions repeatedly across different projects.
actions/checkout
Downloads your repository code onto the runner.
yamluses: actions/checkout@v4actions/setup-node
Installs a specified Node.js version.
yamluses: actions/setup-node@v4actions/setup-python
Installs a specified Python version.
yamluses: actions/setup-python@v5Dependency Caching
Caching can make workflows faster by reusing previously downloaded dependencies.
Some setup actions provide built-in cache options. For example:
yaml- name: Set up Node.js
  uses: actions/setup-node@v4
  with:
    node-version: "20"
    cache: npm
Deployment Actions
Community actions can help deploy applications to platforms such as GitHub Pages, cloud providers, or hosting services.
Before using a third-party action, check:
- Who maintains it
- Whether it is actively updated
- What permissions it requests
- Whether its documentation matches your use case
You can explore reusable actions in the GitHub Marketplace.
Why CI/CD Matters
CI/CD is not valuable only because it looks impressive on a resume. It improves the way a team builds software.
Faster Feedback
You learn about broken code within minutes instead of discovering it before a demo or final submission.
Better Code Quality
Automated checks encourage the team to maintain tests, formatting rules, and reliable build commands.
More Confidence
A green workflow does not guarantee that the application is perfect, but it provides evidence that the checks your team defined are passing.
Easier Team Collaboration
Before merging a pull request, everyone can see whether the change builds successfully and passes the required tests.
Fewer “Works on My Machine” Problems
A fresh runner exposes missing dependencies, incorrect setup instructions, and hidden local configuration.
Less Repetitive Work
Developers do not need to manually repeat the same build and test steps after every change. The pipeline handles them consistently.
A Practical College Project Workflow
For a team project, a simple and effective process could look like this:
- Create a new branch for each feature.
- Push the branch to GitHub.
- Open a pull request.
- Let GitHub Actions build and test the change.
- Fix the workflow if any check fails.
- Ask a teammate to review the code.
- Merge only after the required checks pass.
This is already close to the workflow used by many professional development teams—just at a smaller scale.
What You Should Do Next
Reading about CI/CD helps, but the concept becomes much clearer after you watch your own workflow run.
Start with these steps:
- Pick one existing GitHub project.
- Create
.github/workflows/ci.yml. - Add either the Python or Node.js template from this guide.
- Push the file and open the Actions tab.
- Intentionally break a test or build command once.
- Read the error logs and fix the workflow.
That small exercise will teach you more than memorizing twenty definitions.
You can continue learning through:
Final Takeaway
CI/CD is not a complicated tool reserved for large companies.
It is simply a reliable process for answering two questions:
- Does the code still work?
- Can we release it safely?
GitHub Actions allows you to automate that process using a YAML file stored inside your repository.
Start small. Run your tests on every pull request. Once that becomes reliable, add builds, deployments, security checks, and notifications one step at a time.
CI/CD means checking your code continuously, catching problems early, and making releases less stressful.